Program to Upload You Picture and Convert It to an Bitmoji
How to Create a Virtual Bitmoji Classroom in Google Slides or PowerPoint
I recently posted this photograph of my Google Run into slide on Instagram and had some folks request a more detailed tutorial. Since creating tutorials is 1 of my favorite means to procrastinate on other more pressing tasks, I volition gladly oblige. Here we go.

Step ane: Open a blank Google Slide or PowerPoint 🖱️
If you desire to create a Google Come across or Agenda slide like mine (or something similar), you can keep the default folio dimensions and move onto Stride 2.
If you desire to create a Google Classroom header, change the page dimensions to ane,000 x 250 pixels by going to File —> Page Setup in Google Slides or Blueprint —> Page Setup in PowerPoint. Simply a warning though: When you upload your imprint on Google Classroom, you'll become this frustrating nighttime overlay on your image. It'south an accessibility thing and can't be inverse, so only keep that in heed and endeavour to keep everything every bit bright as possible.
To create a custom Google homepage, you'll want the dimensions somewhere in the neighborhood of 15 in x 8 in.
Step two: Collect your images 🖼️
Next step is to collect the images for your scene.
For mine, I used posters from ECHO-LIT (my favorite poster shop) and a multifariousness of Google Images. All Google Images were found using the "labeled for reuse" filter (more on that in a minute). I also want to note that I reached out to the creator of Repeat-LIT for permission to utilize her posters in my scene. Please do the aforementioned if you make up one's mind to include something similar.
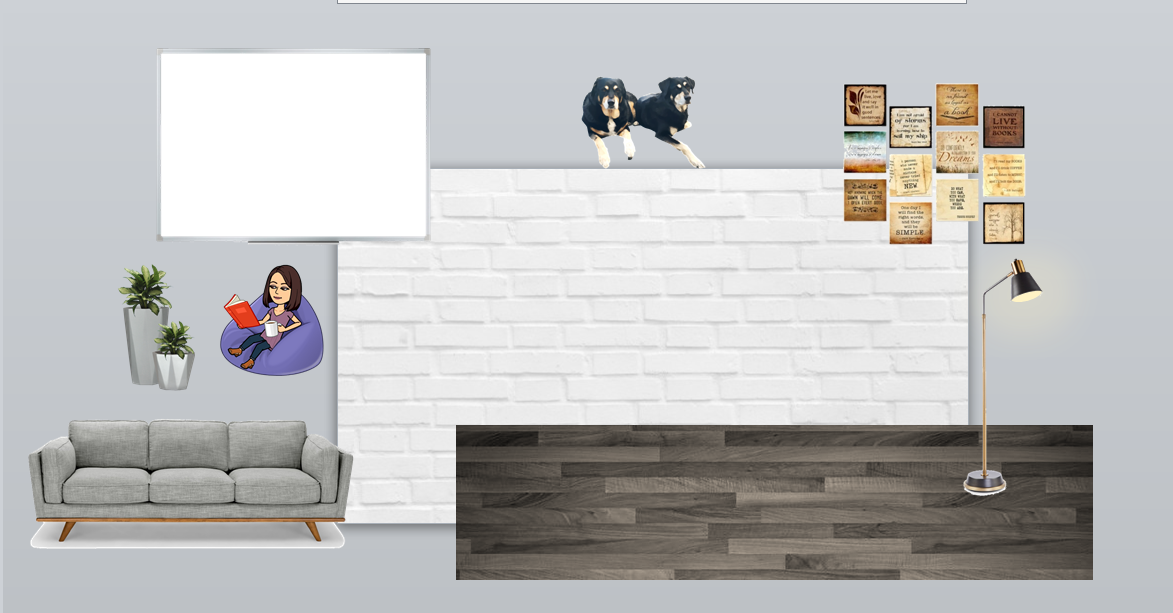
For the background, I searched Google for "white brick wall" and "forest floor" — then I only bundled them on the page in a way that looked semi-normal. You could as well search for something like "wall flooring" and catch an image that already combines the two.
To get your Bitmoji in Google Slides, download the Bitmoji Chrome extension. Then, click the Bitmoji icon on your browser bar, select the Bitmoji you want, and drag and drib information technology onto the slide. To get your Bitmoji in PowerPoint, click on the Chrome extension icon, right-click on the Bitmoji you desire, and save it as an image — so you tin can insert that image into your PowerPoint slide.
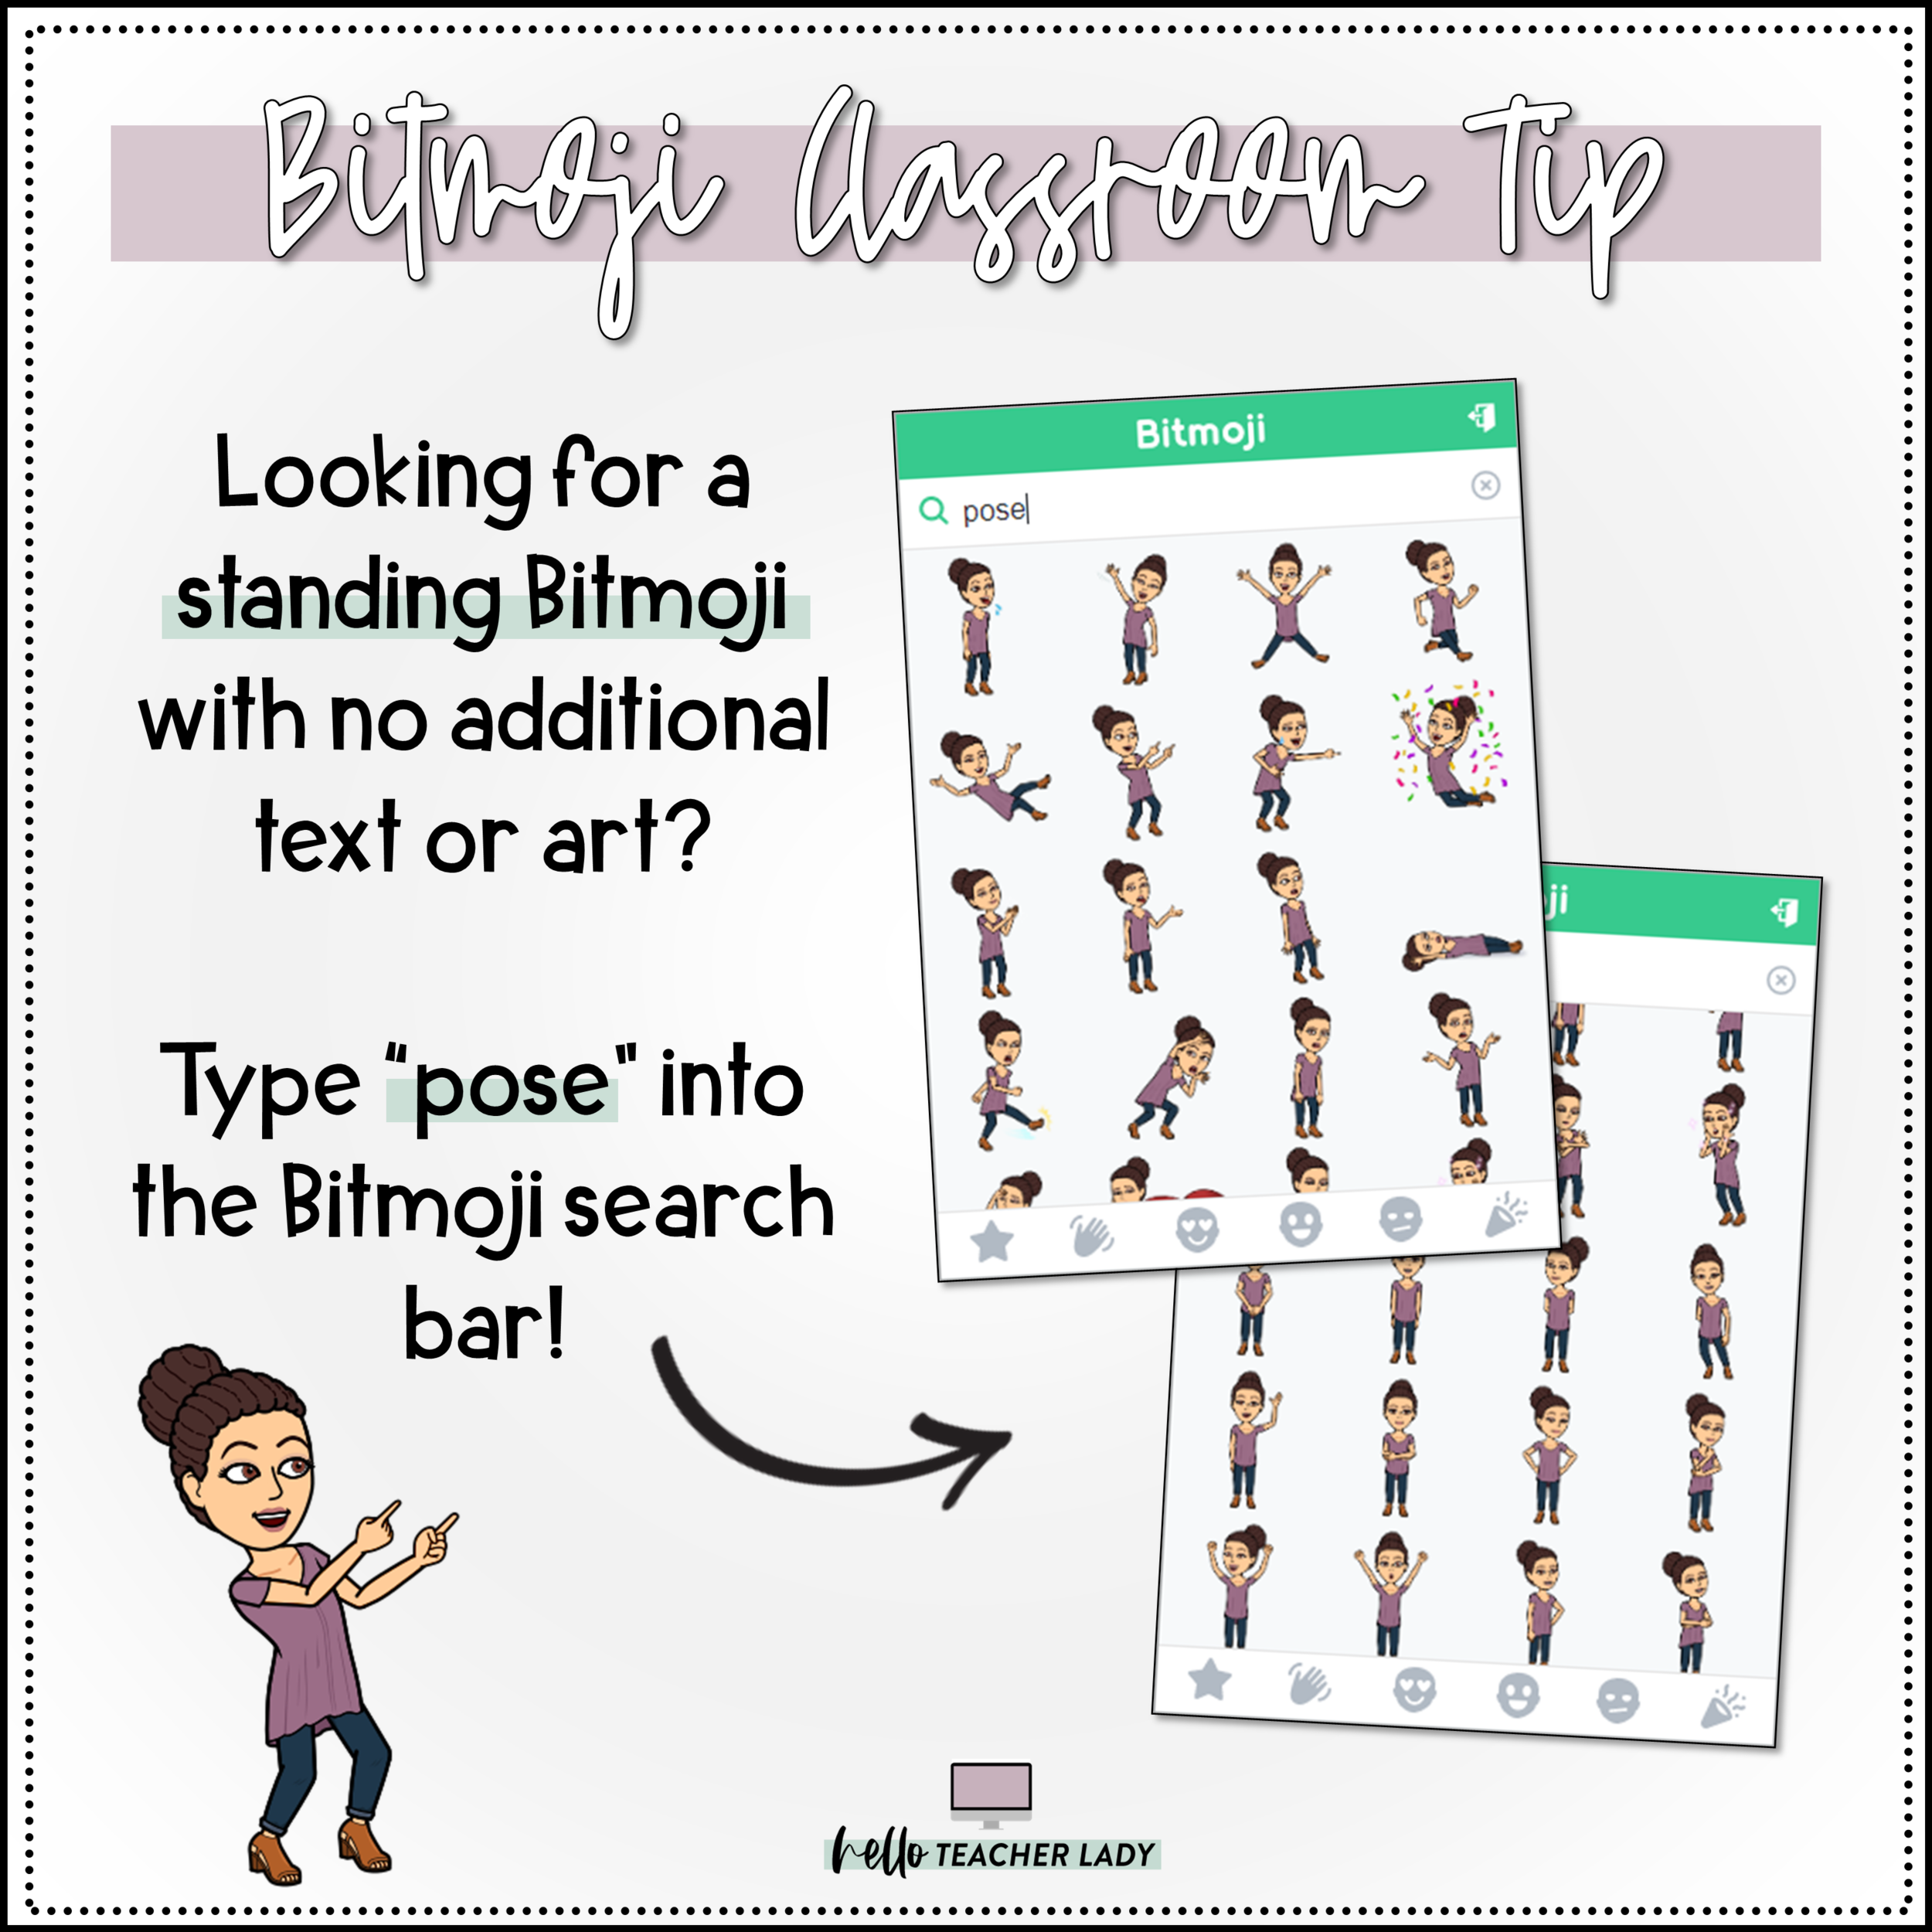
Bitmoji Search Tip: If you lot're having problem finding a standing Bitmoji without additional text or art, type "pose" into the Bitmoji search bar!
Google Paradigm Search Tips: 🔎
To assistance with your image search, there are a few filter tools you demand to know virtually. Filtering your search will permit you lot to find the images you lot demand a lot quicker (and it's also a helpful trick to teach students, too!).
Go to Google images and click on Tools. This will bring up a multifariousness of filter dropdowns.
Here are the filters I find well-nigh helpful:

To find images that are labeled for reuse, click Usage Rights —> Labeled for reuse. Yes, it'south tempting to type a few search terms into Google and take hold of whatever images we want without thinking twice, merely that could very likely plow into a large ol' copyright violation. Plus, don't we teach our students that'south not okay? Yay for modeling digital citizenship!
If you want to find something in a specific color, click Colour and select the color you want.
To observe images with transparent backgrounds, click Color —> Transparent background. If you tin't find an image you like that fits this criteria, that's okay — that's what the remove.bg website is for (but this filter allows us to skip that step).
To remove a background from an image: ✂️
Salvage the epitome to your computer and get to Remove.bg. Click Upload Paradigm and poof - your background is gone. You may demand to do a bit of adjusting to remove parts of the background that were missed. If so, click the Edit push button below the original image.

Step three: Create your scene 🎨
Once you have a background and a few images, you can outset creating your virtual scene.
A couple editing tips: 📌
When resizing your images, make certain you are resizing from the corner point of the selected image. This will maintain the acme and width proportions of the resized image. If you lot try to resize from one of the height or side points, the dimensions will not adjust proportionately.
To layer an image below another, correct-click and select Guild —> Transport to dorsum on Google Slides or right-click —> Ship to Back on PowerPoint.
Watch the time-lapse below for a glimpse into the process:
Step iv: Add interactive links (optional) 🔗
Some folks are taking their virtual classrooms to the next level past adding interactive links on specific images. This is a fun mode to create virtual libraries, scavenger hunts and more than.
To link an object, simply click on the image you want to link and then click Ctrl + K in Google Slides or correct-click —> Hyperlink in PowerPoint. Paste in your destination link and you're good to go.
Still have questions? ⭐
Wondering how to employ your virtual classroom or how to share with students on Google Sites or your school's LMS? Want to know how to brand your virtual classroom more accessible for all students? Click the push button beneath!
Please be sure to cheque out the FAQ post linked above earlier posting your question in the comments. Thanks!
Source: https://www.helloteacherlady.com/blog/2020/4/how-to-create-a-virtual-bitmoji-scene-in-google-slides-or-powerpoint